 Save
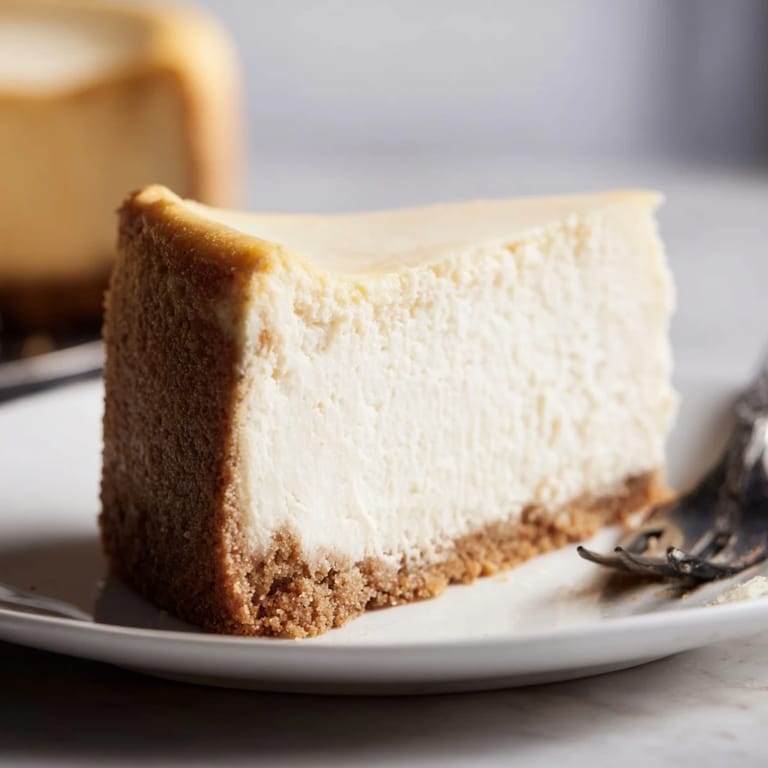
Save The first time I attempted New York cheesecake, I spent three days researching techniques like I was preparing for a final exam. My kitchen became a laboratory of temperature experiments and texture tests. That first attempt emerged with a magnificent crack straight through the center, but one taste convinced me this was worth mastering. Now it has become my go-to dessert for birthdays and dinner parties, the kind of recipe that makes people ask for seconds before they have even finished their first slice.
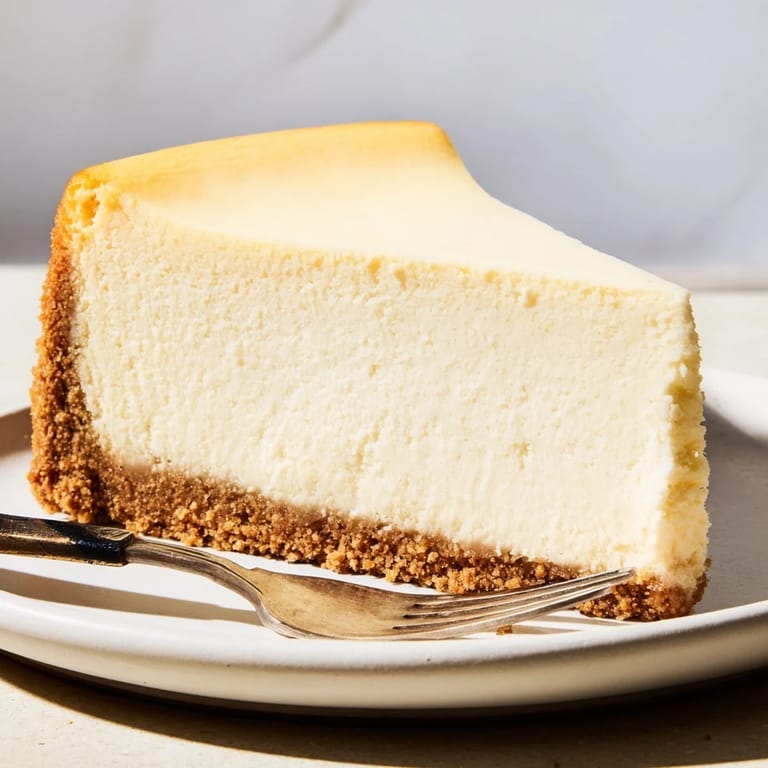
I made this cheesecake for my mothers 60th birthday, nervously checking the oven every fifteen minutes. When I finally served it after the mandatory chilling period, she declared it better than any bakery version she had ever tasted. The water bath technique I had worried about so much made all the difference. Now every family celebration feels incomplete without that dense, creamy wedge on the dessert table.
Ingredients
- Graham cracker crumbs: Fresh crumbs work best here, so pulse whole crackers in a food processor rather than buying pre-ground
- Unsalted butter: Melt it completely and let it cool slightly so it binds the crust without making it greasy
- Full-fat cream cheese: Room temperature is nonnegotiable for that smooth, lump-free filling
- Sour cream: This adds the characteristic tang that defines authentic New York style cheesecake
- Cornstarch: The secret ingredient that helps stabilize the filling without making it taste chalky
- Vanilla extract: Use pure vanilla extract, the artificial stuff cannot compete in a recipe this simple
- Fresh lemon juice: Just enough to brighten the flavors and enhance the vanilla
Tired of Takeout? 🥡
Get 10 meals you can make faster than delivery arrives. Seriously.
One email. No spam. Unsubscribe anytime.
Instructions
- Prepare your oven and pan:
- Preheat your oven to 160°C (325°F) and grease a 23 cm (9-inch) springform pan, lining the base with parchment paper for easy removal later.
- Make the crust:
- Combine graham cracker crumbs, melted butter, sugar, and salt in a bowl until the texture resembles wet sand, then press firmly into the bottom of your prepared pan.
- Pre-bake the crust:
- Bake for 10 minutes until fragrant and set, then set aside to cool while you prepare the filling.
- Cream the cheese:
- Beat the room temperature cream cheese in a large mixing bowl until completely smooth, about 2 minutes, then add sugar and continue beating until well combined.
- Add flavor and structure:
- Mix in sour cream, vanilla, lemon juice, cornstarch, and salt until just incorporated, scraping down the bowl to ensure everything is evenly distributed.
- Incorporate the eggs gently:
- Add eggs one at a time, mixing on low speed and scraping the bowl after each addition, being careful not to overmix which can introduce air bubbles.
- Assemble the cheesecake:
- Pour the filling over the cooled crust and smooth the top with a spatula, tapping the pan gently on the counter to release any trapped air.
- Create the water bath:
- Place the springform pan in a larger roasting pan and carefully pour hot water into the outer pan until it reaches halfway up the sides of the springform pan.
- Bake to perfection:
- Bake for 55 to 65 minutes until the edges are set but the center still jiggles slightly like Jell-O when you gently shake the pan.
- The crucial cooling phase:
- Turn off the oven, crack the door open, and let the cheesecake cool gradually for 1 hour, which prevents cracking.
- Final cooling and chilling:
- Remove from the oven, run a knife around the edge to prevent sticking, let cool to room temperature, then refrigerate for at least 6 hours or overnight.
- Add the optional topping:
- Mix sour cream, powdered sugar, and vanilla until smooth, then spread over the chilled cheesecake before serving.
- Serve with style:
- Slice with a hot, clean knife dipped in hot water between cuts for those picture-perfect wedges.
 Save
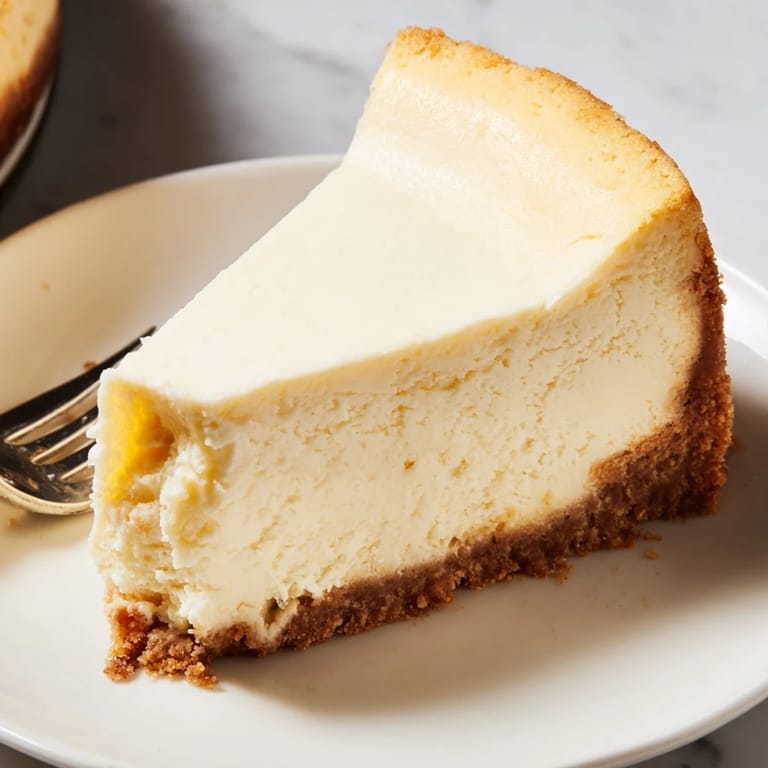
Save There was a dinner party where I served this cheesecake, and my friend Sarah, who claims not to like sweets, went back for a third slice. Watching guests fall silent as they took that first bite has become one of my favorite kitchen moments. It reminds me why I bother with all the careful steps and temperature control.
Mastering the Water Bath
I learned the hard way that wrapping your springform pan in aluminum foil is essential before placing it in the water bath. The first time I skipped this step, water seeped into my crust and turned it soggy. Now I use two layers of heavy-duty foil and have never had a problem since.
Timing Your Bake
The jiggly center phase always makes me nervous, but I have learned to trust it. Pulling the cheesecake when the center still wobbles means it finishes cooking gently as it cools. Every time I have left it in longer hoping to set it completely, I have ended up with a dry, cracked dessert.
Serving Suggestions
While this cheesecake is stunning on its own, fresh berries or a drizzle of fruit compote can make it even more special. I have found that slightly tart fruits like raspberries or blackberries complement the rich creaminess perfectly.
- Let the cheesecake sit at room temperature for 30 minutes before serving for the best texture
- Run your knife under hot water and wipe it clean between each slice for pristine cuts
- The flavor actually improves after a day in the refrigerator, so this is a perfect make-ahead dessert
 Save
Save This recipe has taught me that patience in baking really does pay off. Every time I pull a perfect crack-free cheesecake from the refrigerator, I am glad I took the time to do it right.
Recipe FAQs
- → Why is my cheesecake cracking?
Cracking typically occurs from overmixing the eggs, overbaking, or cooling too quickly. Mix eggs just until incorporated and avoid opening the oven door frequently during baking.
- → How long should cheesecake chill before serving?
Refrigerate for at least 6 hours, though overnight chilling produces the best texture and flavor. This allows the filling to fully set and develop its characteristic creamy consistency.
- → Can I make this without a water bath?
While possible, a water bath ensures gentle, even heat distribution and prevents cracking. It creates steam that keeps the environment moist, resulting in that signature smooth texture.
- → Why do ingredients need to be at room temperature?
Room temperature ingredients blend smoothly without lumps, ensuring a homogeneous filling. Cold cream cheese creates small chunks that prevent achieving that perfectly silky consistency.
- → How do I know when cheesecake is done baking?
The edges should appear set and slightly puffy while the center still has a gentle jiggle, similar to gelatin. The center continues cooking as it cools, so removing it at this stage prevents overbaking.
- → Can I freeze New York cheesecake?
Yes, wrap the cooled cheesecake tightly in plastic wrap and aluminum foil, then freeze for up to 3 months. Thaw overnight in the refrigerator before serving for best results.